To assure our customers products are manufactured to their exact profile specifications with the highest possible quality, we rely on our thorough and extensive quality inspection procedures. These include: profile specifications, mechanical properties, including compliance to B221 specifications, and material hardness.
Profile Specifications
Each component extruded at Alexandria Industries’ facilities today, goes through an in-depth inspection process to ensure the profiles meet customer requirements. For every third billet, we pull a one-inch sample from the extrusion to inspect all profile specifications for accuracy. We use a SmartScope – vision inspection equipment – to perform these inspections. We replicate this inspection process on the tenth billet and every 10 billets after. Between these in-depth inspection checks, our press operators are also checking quality using calipers, squares and micrometers.
If a profile is out of specification, we will identify affected product involved in the variance, and make a determination on correction and disposition. Our rigorous capabilities include real-time visuals at the press to assure accurate extrusion speeds and temperatures. This data, and any repairs to the die, or replacement of dies if required, assures us that the profile is back into spec, and we can continue to produce quality extrusions.
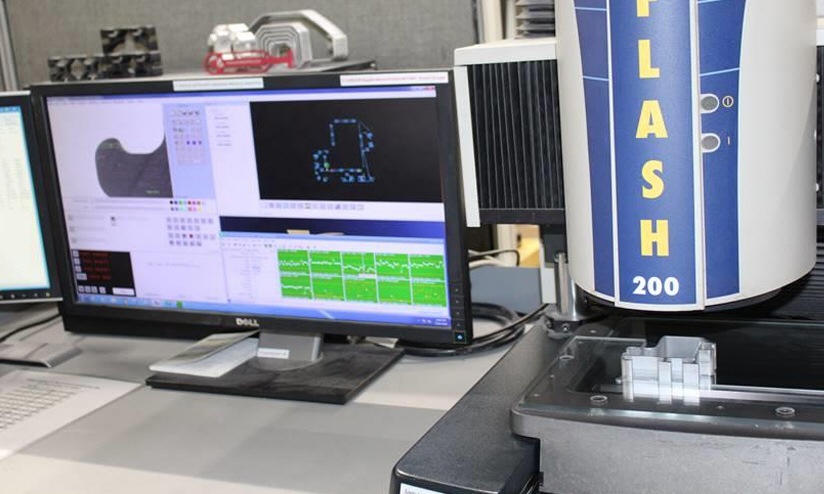
Image above: SmartScope running a scan of a profile – checking 100% of the specifications.
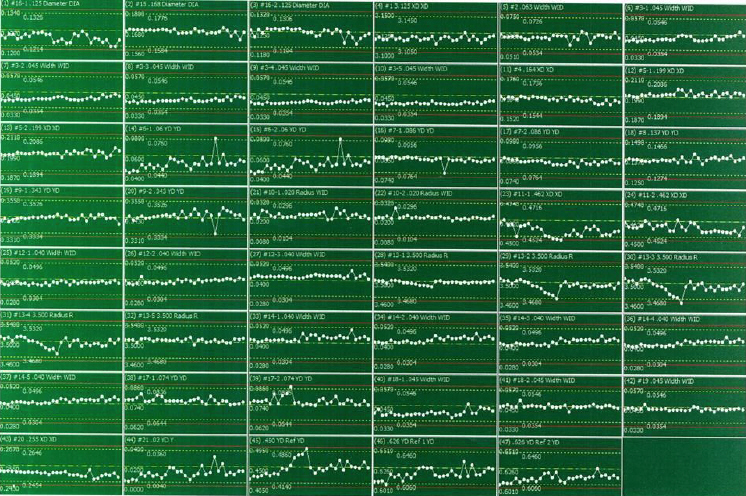
Image above: Example of the results of the SmartScope inspection – showing profile specifications.
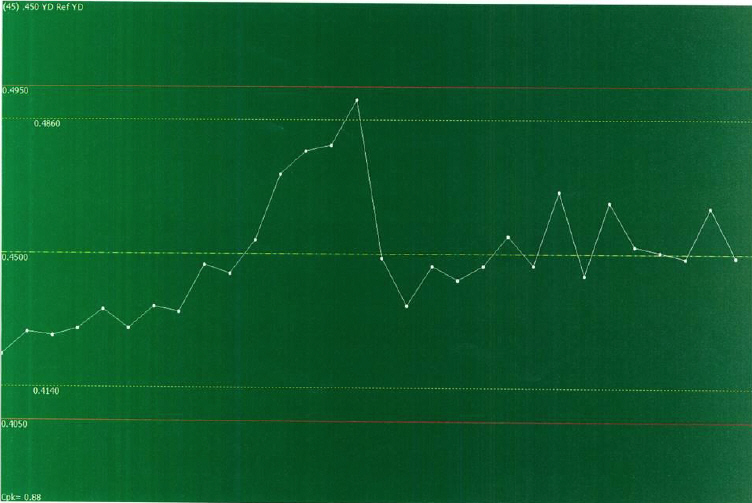
Image above: Example of details of one SmartScope inspection. Each dot represents an inspection occurrence. This view is extremely value as we keep an eye on extrusion trends to be proactive in identifying potential issues.
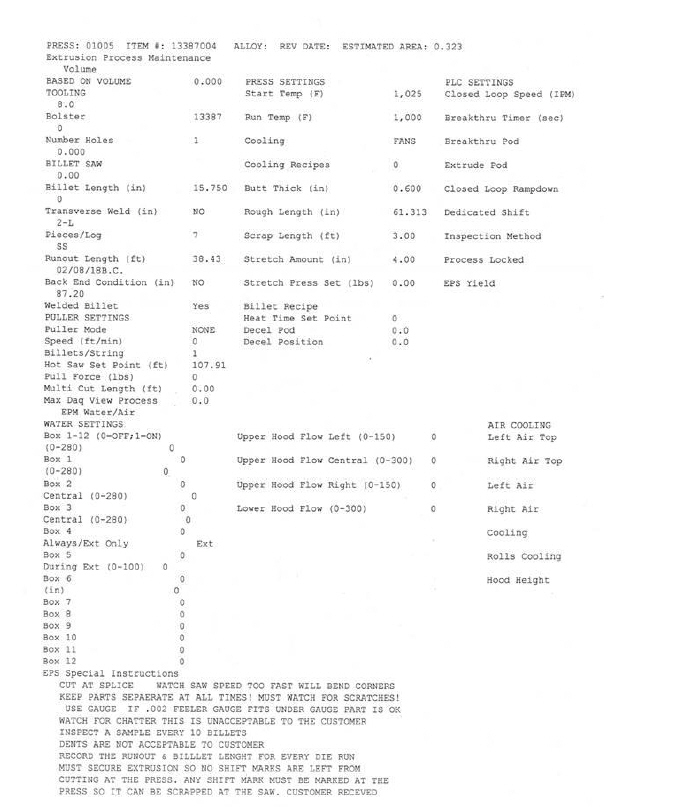
Image above: Example of a full extrusion process procedure. Our extrusion press crews follow the manufacturing process details to assure our particular processes are always consistent. Consider the process procedure details as a recipe for the extrusion process.
Mechanical Properties
Monitoring equipment is located on the extrusion press to ensure exit and quench temperatures happen as directed in order to meet the profile’s required mechanical properties. Alerts are programmed to immediately notify our team of any variance from requirements. This is the largest determining factor in ensuring the alloy meets the needed mechanical properties.
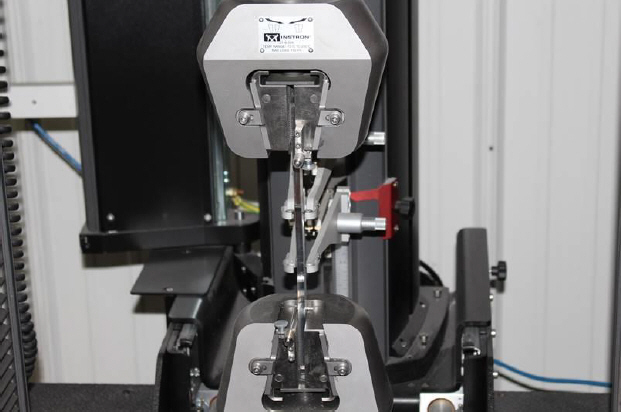
If you require mechanical certification testing on your extrusions, including B221 compliance, we offer tensile strength testing using an Instron Universal Testing System. The testing process requires a coupon (a section of your profile), which is machined from the customer profile. The coupon is inserted into the testing equipment and stretched to the point of failure, measuring yield strength and elongation. These results must fall within acceptable alloy and temper ranges.
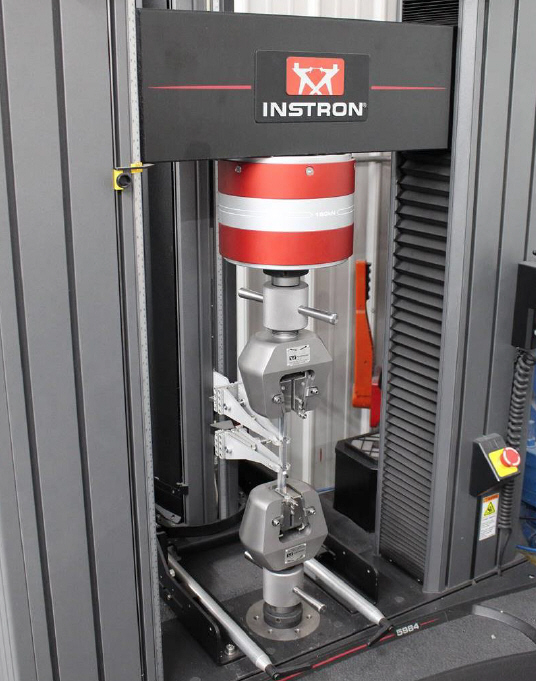
Image above: Instron equipment testing a coupon to assure that the profile meets the mechanical properties of the alloy.
Material Hardness
We check any product we ship to customers in a T5 or T6 state for hardness, after artificial aging and before shipping.
Summary
Quality is of the utmost importance to us. We preform quality assurance and inspection processes every day, for every profile. We will continue this, while providing the data to prove it.
